DIY: Slouchy beanie
Back again with a brand new DIY for you! Crochet yourself this easy slouchy beanie style and is also great for beginners in crochet too. You can use any desired type of wool though a tip: use a thick yarn by the size 3,5 - 5. The type of yarn I have used are fair-trade handmade sheep wool who are woven by women from Nepal. Thanks to a fair-trade organisation these women receives a fair and square loan which gives me an extra good feel when I bought these wool. These wool feels warm and rough and apparently suitable to create felt balls as well. Nice!
|
NL
Ik ben weer terug met een nieuwe DIY! Dit keer leer ik jullie hoe je een stoer en nonchalante beanie kunt haken en de patroon hiervan is ook zeer geschikt voor beginners. Daarnaast kun je elke soort wol gebruiken, maar ik heb wel een tip voor jou: gebruik naald formaat 3,5 - 5. Ik gebruikte onder ander een prachtige bolletje schaapjeswol die fairtrade is, gemaakt door de vrouwen uit Nepal. Deze vrouwen verdienen een eerlijk loon dankzij deze fairtrade organisatie. Dit gaf natuurlijk een extra fijn gevoel toen ik deze wol aanschaf. De wol voelt lekker warm en ruw aan, en het schijnt ook geschikt te zijn voor het maken van viltballetjes. Leuk!
|
❝Zweef
de cursor
voor Nederlandse
vertaling!

You`ll Need
3,5/4/5 sized yarn - hook 3,5 to 6 mm - pair of scissors - stitch markers
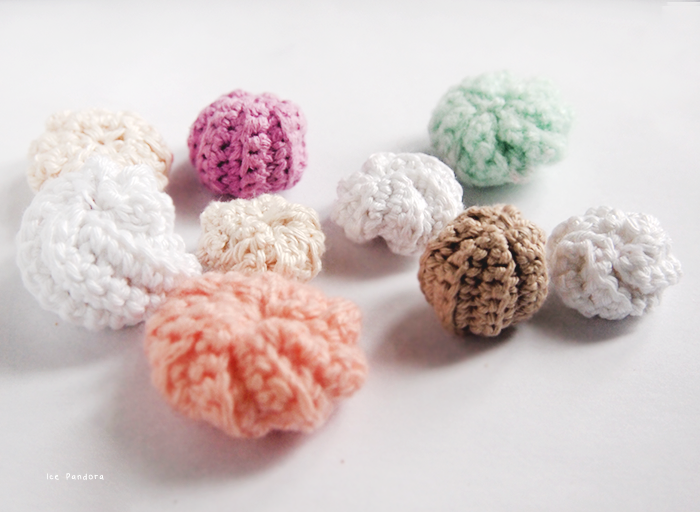
fair & square wool
These are beautiful handmade woven wool by women from Nepal.
These women also gets a fair wage earning by making this wool thanks to a special fairtrade-organisation called `Tilingo` and that is of course wonderful! The wool are also available in many other colors and each ball of wool of 50 gram costs €3,95.


I knew I wanted to make a beanie once I saw this amazing color.
I bought 2 balls of yarn just in case but you can actually make 1 beanie from 1 ball of yarn.


Yellow makes me...
...happy


Instructions
1. Begin with a magic circle.
R1: chain 2 (counts as first doublecrochet), add 11 doublecrochets in circle, join to top of chain 2 and pull loop tight (12)
R2: chain 2 (counts as first doublecrochet), add another doublecrochet in same stitch, add 2x doublecrochet in each stitch, join (24)
R3: chain 2 (counts as first doublecrochet), 1x doublecrochet in next 2 stitches, 2x doublecrochet in next stitch, repeat these steps throughout this round, join (32)
R4: chain 2 (counts as first doublecrochet), 2x doublecrochet in next stitch, 1x doublecrochet in next 3 stitches, repeat these steps throughout this round, join (40)
R5: chain 2 (counts as first doublecrochet), 2x doublecrochet in next stitch, 1x doublecrochet in next 4 stitches, repeat these steps throughout this round, join (48)
R6: chain 2 (counts as first doublecrochet), 2x doublecrochet in next stitch, 1x doublecrochet in next 5 stitches, repeat these steps throughout this round, join (56)
R7: chain 2 (counts as first doublecrochet), 2x doublecrochet in next stitch, 1x doublecrochet in next 6 stitches, repeat these steps throughout this round, join (64)
R8: chain 2 (counts as first doublecrochet), 2x doublecrochet in next stitch, 1x doublecrochet in next 7 stitches, repeat these steps throughout this round, join (72)
R9: chain 2, 1x doublecrochet in all stitches, join (72)
R10 - R29: repeat steps of R9.
NOTE you don`t need to finish to R29 because from R10 you can depend how long (or how slouchy) you want. The more rows you create, the slouchier your beanie will be. For myself I have made 15 rows in total. Basically just crochet these rows until you reach your preferred length.
R-- : chain 1. 1x singlecrochet in each stitch in the backloops.
R-- : repeat the previous row in the next 4-6 rows. Fasten off and leave a tail. Tuck the tail inside the beanie.


I love the bright colour! -Audrey | Brunch at Audrey's
ReplyDeleteSo cool! The slouchy beanie looks great. :)
ReplyDeleteVery cute! I love the bright yellow color.
ReplyDelete